Buying Guides
What to Check When Your Packaging Sample Arrives
A factory checklist for your packaging sample: inside dimensions, colour against Pantone, insert fit, closure cycles, board weight by feel, and what to approve.
Opening
A packaging sample is a contract you can hold. Every number in the quotation, every claim made in the design review and every promise written into emails becomes physically checkable the moment the sample is in your hands, and ten minutes of structured checking at this stage prevents ten thousand problems at delivery. This guide is the checklist, ordered the way a sample should be worked through.
The order is deliberate: dimensions first, because nothing else matters if the product does not fit; colour second, because it is the item most argued about; then insert protection, then closures, then board and finish, then the decision itself. The perspective is factory-side — these are the checks we run across 1,000+ cases for 50+ brands, written from our factory in Humen, Dongguan, producing packaging since 1998.
Bring three things to the review: the real product, the Pantone references and the quotation with its written specification. A sample reviewed without the product only tests the box. A sample reviewed with the product tests the programme.
Check Dimensions First: Inside, Not Outside
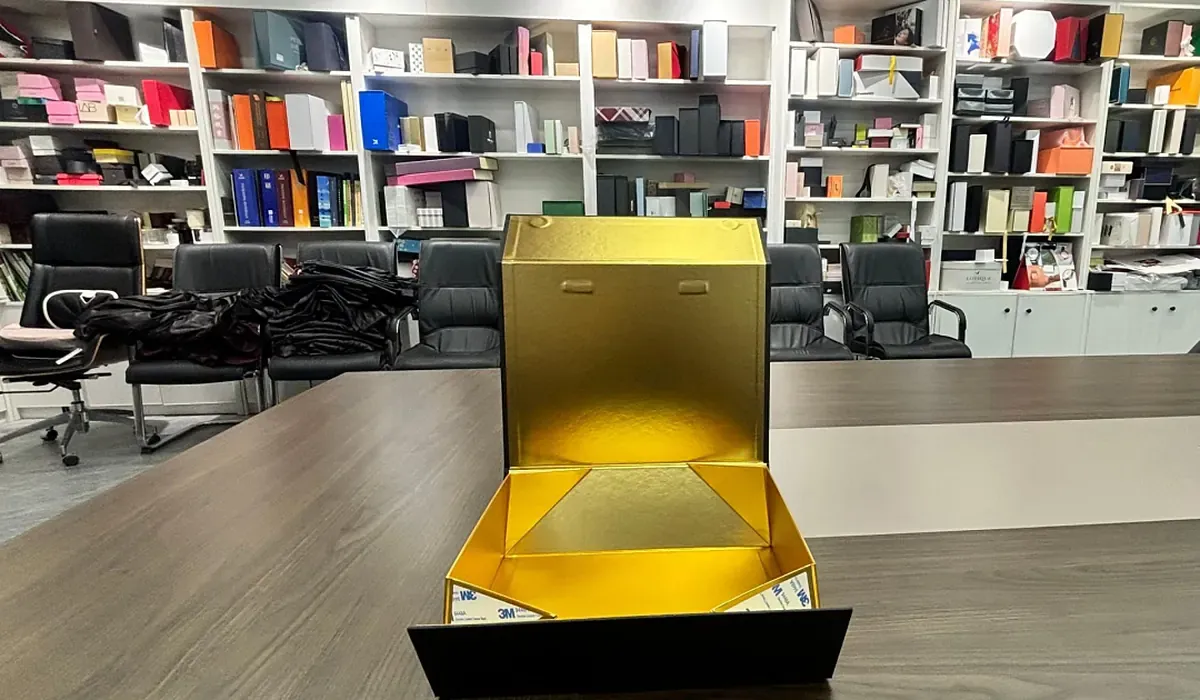
Outside dimensions flatter a sample; inside dimensions pay for it. Measure the cavity against the product at its fullest: height with caps and pumps fitted, width at the widest point including any label, and depth with the insert in place. The product must enter without force and leave without damage — a box that displays beautifully but grips the product too tightly fails at the shelf, not at the inspection table, and the shelf is where the customer forms the opinion.
Lid fit deserves its own minute. Close the lid and look for even gap lines all round, check that the closure depth holds when the box is tilted forward, and feel whether the lid seats without hunting for its position. A lid that needs adjusting every time it closes is a tolerance conversation to have now, in writing, not a quirk to accept in sample one and regret in carton one.
Outside dimensions belong to the carton plan, so measure them too and compare against the quotation rather than against memory. The box must pack at the planned quantity — small formats plan at roughly 100 pcs per master carton within the 22 kg ceiling — and a sample that grew even a few millimetres can break the carton plan, the freight calculation and the unit cost at the same time. Growth found now is a dieline amendment; growth found after production is a conversation nobody enjoys.
Colour Against the Reference, Not the Screen
Check colour against the Pantone reference in daylight, never against a monitor. A screen emits light and paper reflects it, so a screen match is an approximation even when it looks confident. Lay the reference swatch directly against the printed panel, under the same neutral light for every check, and judge the solid areas first — the gradients and photographic panels come after the brand colour is settled.
Check each finish in its own light as well. Foil reads at an angle, so tilt the panel and watch the edge definition; spot gloss needs raking light against matte to show where the coating stops; soft-touch films look different under warm retail lighting than under office fluorescents. A finish that cannot be seen where the box will be sold is a finish that was never really chosen.
If colour fails, the path is short and written: note the deviation against the reference, return the amended file, and a revised sample follows in about 5 days. Approving a colour you intend to argue about later is the expensive path, because the signed sample becomes the production standard — sign only the colour you accept in the light you checked it in.
Keep the signed reference where the deliveries will find it. The sample that signed the production run is the reference for every batch that follows, so file it with the quotation and the dieline version rather than on someone's desk. When a later delivery raises a question, the comparison is made against that standard — in the same daylight — and not against a memory of the first carton.
Insert Fit and Protection Under Load
Test the insert with the real product, filled and closed, not with a dummy. Two tests cover most of the risk. First, the handling test: the product should lift out the way a customer will lift it, with the fingers the cavity was designed for, and settle back without alignment gymnastics. Second, the retention test: close the box, tilt it through the angles a courier produces and watch for migration across the cavity.
Then load it. Drop the closed carton from the height your distribution channel actually produces — doorstep, sorting belt, shelf restock — and open it afterwards under bright light. Look for witness marks on the product, print transfer onto the insert, and any loosening of the fit. An insert that passes tilt and drop with the real product almost never fails in transit; an insert tested with air always eventually meets a product.
For multi-cavity sets, check every cavity individually rather than sampling the average. The cavity that holds product four is the one that arrives broken in unit four hundred, and it is found by running the full set through the same two tests, one cavity at a time. Sets fail as a set, so they are tested as a set.
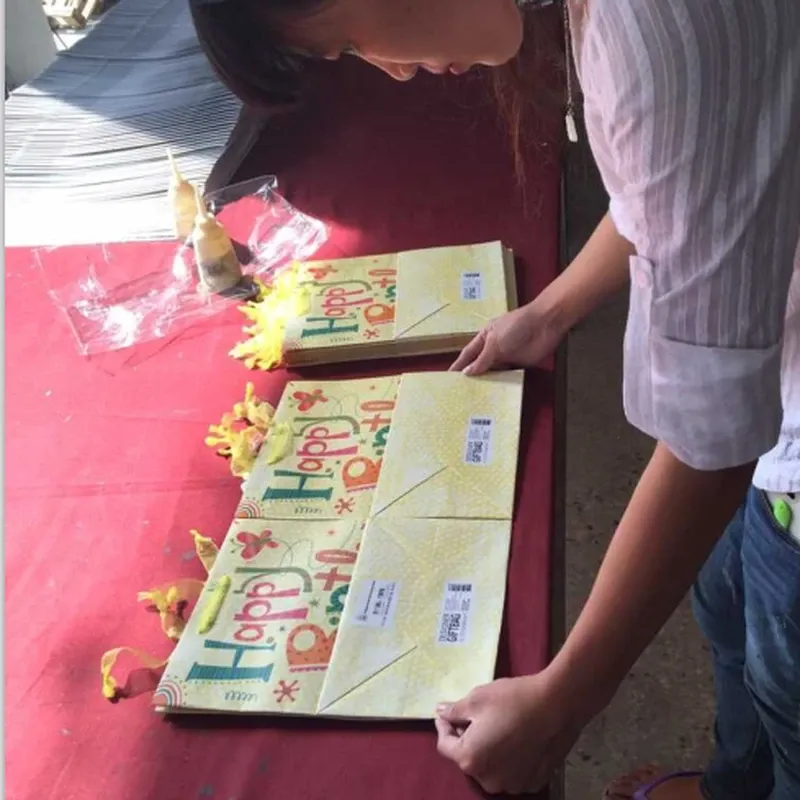
Photograph the review as you go. Pictures of a witness mark, a corner lift or a gap line, attached to the written amendment with the sample batch named, make the second review objective — everyone is looking at the same image rather than recollecting a feeling. A review that produces photographs and a list produces a correction; a review that produces an impression produces another sample anyway.
Closures, Hinges and Magnets
Work the closure through a few dozen open-close cycles and feel for consistency. A magnetic lid should find its seat on the first pass, with the pull even at both poles; a friction or snap fit should feel the same on the thirtieth cycle as on the third. Hinges are checked at the extreme of travel, where the material works hardest — a hinge that whitens or resists at full opening will not improve with production volume.
Magnets have two failure modes worth separating. Weak pull shows up immediately as a lid that lifts under its own spring; misalignment shows up as a lid that hunts for its seat and closes off-centre, which is a placement tolerance question rather than a strength one. Both are correctable at this stage, and both are the kind of thing a counter customer notices without being able to name.
Write down what the hand notices. A feel that is wrong at sample stage does not mature into a feel that is right at production, and the written note is what turns an impression into an amendment the factory can act on. The sample review that leaves no notes has not happened, however thorough it felt.
Board and Finish by Feel
Board weights are felt before they are measured. A 1200 g greyboard core reads clearly stiffer in the hand than a 1500 g one on a large lid, and a 157 g art paper wrap feels different from an uncoated stock the moment a finger crosses the surface. Folding cartons in 300 to 500 g board are judged the same way — squeeze the corner, and the panel should return rather than stay creased. Compare the sample against the grammage written in the quotation, not against a guess.
Check the finish against the specification line by line. Matte, gloss and soft-touch lamination each announce themselves to a fingertip; the laminate should wrap the corners without lifting; and interior printing should sit where the quotation says it sits. If the sample and the specification disagree, the specification wins the argument until both are corrected — that discipline is what keeps option two of a quotation from being delivered instead of option one.
Paperwork is part of the same check. Where FSC-ready certified board was specified, the sample documentation states it, and the chain-of-custody detail is confirmed at this stage so the claim ships with the product. A sustainability statement that cannot be traced at sampling will not be traceable at shipment either.
Benchmarking helps where words fail. Put the sample beside a box from your own shelf whose feel the team already agrees on — a competitor's or a previous programme's — and the conversation shifts from adjectives to references. The factory does not need the benchmark box; it needs the sentence the team agreed on after comparing, stated in the specification.
Approve, Amend or Reject Your Packaging Sample
Close the review with one of three written outcomes. Approval is given in writing and triggers the production schedule: 10-20 working days after sign-off, MOQ from 100 pcs per size and design, payment of a 30% deposit with the balance before shipment. Approval given casually is the most expensive sentence in procurement, because it starts the clock on a specification that was never actually agreed.
Amendments are a list, not a mood. Return the sample notes item by item — dimension, colour, insert, closure, finish — and the factory replies within 12 hours with the correction plan, with an updated quotation within about 24 hours where the change touches cost. A revised sample follows the same checklist as the first one, and production waits for a signature, not for enthusiasm.
Before any carton ships, AQL inspection runs against the signed sample, which is why the signature matters so much. For programmes shipping to 80+ countries, the signed sample is the single reference both sides hold when a batch is questioned on either end of the ocean. Everything on this checklist converges on that one artefact.
The step is routine at scale. On our 5,000 m² floor, 100 staff run sampling as a normal stage of every programme, and the factory carries about US$10 million in annual output through the same gates described here. A buyer who checks the sample the way the factory does is not adding friction — they are finishing the same job from the other side of the table.
One person signs. Collect the internal comments, reconcile them, and let a single named owner issue the approval or the amendment list, because two voices reaching the factory with different priorities is how a specification becomes a compromise nobody asked for. The same owner should countersign the revised sample, so the standard the run is checked against has exactly one author.
Frequently Asked Questions
What should I check first when a packaging sample arrives?
Start with inside dimensions against the real product: height with caps fitted, width including labels, and depth with the insert in place. The product must enter without force and leave without damage. Outside dimensions come next, because they drive the master carton plan and the freight. Everything else on the checklist assumes the fit is right, so fit is where the review begins.
How do I check colour without a spectrophotometer?
Use the Pantone reference and daylight. Place the swatch directly against the printed panel under the same neutral light for every check, and judge solid areas before gradients. Never judge against a screen, which emits light rather than reflecting it. If a deviation appears, note it against the reference and a revised sample follows in about 5 days.
How do I test the insert for transit protection?
Run two tests with the real product, filled and closed. Tilt the closed box through the angles your courier produces and watch for migration, then drop it from the height your channel actually generates and open it under bright light to inspect for witness marks. An insert that passes both tests with the real product almost never fails in mass production.
What happens if the sample fails one of my checks?
Nothing ships until it is corrected. Return the failure as a written amendment against the specific check, and the factory replies within 12 hours with the correction plan, with an updated quotation within about 24 hours if cost is affected. A revised sample is produced and reviewed through the same checklist. Production starts only after a written approval.
Does sample approval start production immediately?
Yes. A written approval schedules production for 10-20 working days, at MOQ from 100 pcs per size and design, with payment of a 30% deposit and the balance before shipment. That is why approval should be given in writing and only after the full checklist, because it commits the specification exactly as sampled and documented.
What documents should accompany the sample?
The quotation with its written specification, the dieline version used, the Pantone references, the finish callouts and, where requested, the FSC-ready notation for certified board. Keep them with the sample, because the signed sample plus these documents form the production standard that AQL inspection checks the finished run against before packing and shipment.
Conclusion
A packaging sample rewards a reviewer who works in order: dimensions with the real product inside, colour against Pantone in daylight, insert protection under tilt and drop, closures through their cycles, board and finish against the written specification, and a decision made in writing. Ten minutes of that discipline converts the sample from a courier parcel into the production standard the whole programme stands on. Send your specification and Request a Wholesale Quote — the sample that follows is worth checking carefully, because approving it is the moment the schedule and the specification become one commitment.