Buying Guides
How to Choose Jewelry Packaging Boxes: Full Guide
Jewelry packaging boxes: structure, insert and finish compared, with the questions that separate real protection from decoration.
Your jewelry is measured in millimetres and judged in seconds. The box around it decides both.
A ring that arrives scratched, a necklace that tangles in transit, an earring that rattles loose inside an oversized cavity — none of these are product defects. They are packaging decisions, and they are entirely in your control.
This guide walks through the five decisions that determine whether your jewelry packaging boxes protect your pieces, present your brand, and survive the trip from factory to doorstep. It is the same sequence we use at boxeschina on every brief for brands in North America, the UK and Europe.
Why Jewelry Packaging Boxes Do More Than Hold a Product
Three jobs, in order:
- Protect. Jewelry is small, hard, and easy to damage. Polished surfaces scratch against each other. Chains knot. Clasps catch.
- Present. The unboxing is the first physical contact a customer has with your brand. For online jewelry brands, it is the store.
- Signal tier. A 1,200gsm rigid board box with a gold hot-stamp logo reads as fine jewelry. A thin folding carton reads as fashion jewelry. The customer decides within two seconds.
Get the order wrong — optimize presentation over protection, say — and you get beautiful returns.
Step 1: Match the Box Structure to the Jewelry Type
Different pieces fail in different ways. Start here, not with color or finish.
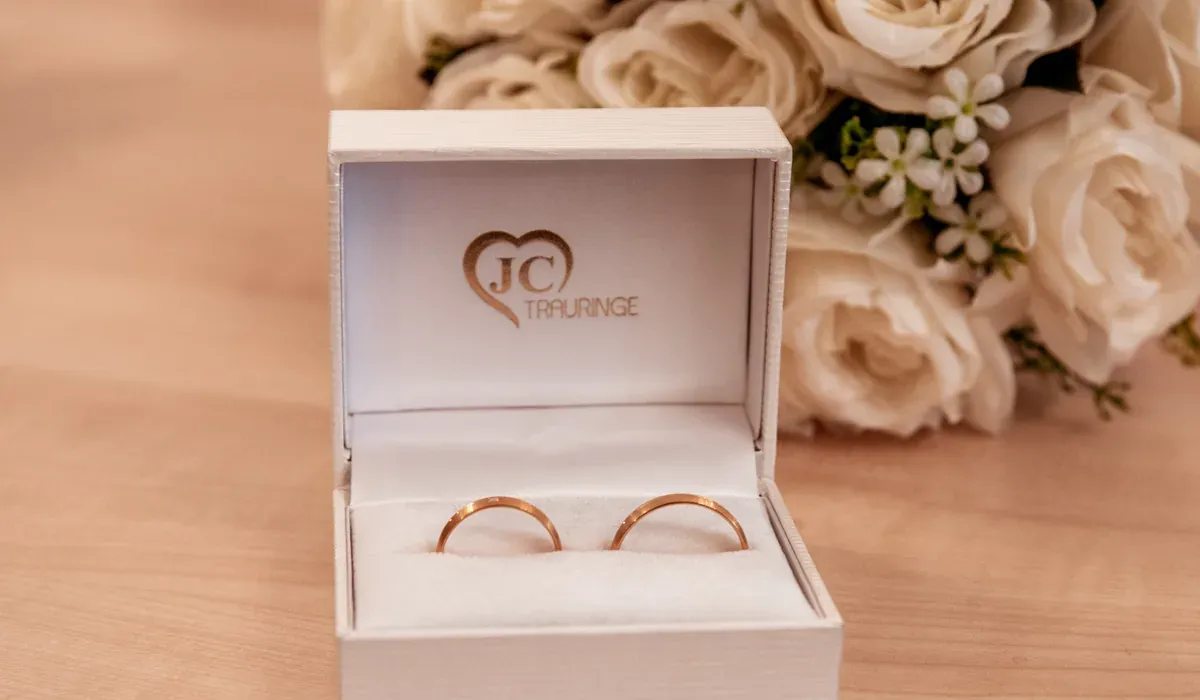
Rings. Rings need a slot, not a cavity. A velvet or foam insert with a cut channel holds the band upright and stops it rotating. Shallow two-piece boxes work well; the lid lifts to reveal the stone at an angle.
Necklaces and pendants. The failure mode is tangling. Look for boxes with a hook, a neck-form, or a flat pad with ribbon ties. Longer chains need a deeper footprint or a coiled channel, otherwise the chain arrives in a knot the customer has to unpick.
Earrings and bracelets. Earrings need paired holes or a card-backed panel so the pair stays together. Bracelets sit best on a padded cuff or a flat velvet surface with a slight recess. Studs and hoops want different depths — do not force one insert to do both.
Skip the mistake: one insert for an entire collection. A "universal" insert fits everything badly.
Step 2: Get the Size Right (and Avoid the #1 Sizing Mistake)
The most common error is sizing the box to the product instead of the product plus its packaging.
A ring measures 20mm across. A ring sitting in a velvet slot measures 38mm, because the insert has depth and the lid needs clearance. Size the interior to the piece as it will be presented, not as it sits on a bench.
Practical rule: interior clearance of 3–5mm around the insert on every side, plus 2–3mm of vertical headroom so the lid never compresses the piece.
Too tight and the lid crushes a raised stone. Too loose and the piece shifts in transit — and shifting means scratching.
Step 3: Choose the Material
Rigid board (most popular for fine jewelry). Greyboard wrapped in printed paper, typically 800–1,500gsm. It holds shape, feels substantial, and takes finishes beautifully. This is the standard for engagement rings, fine jewelry, and anything positioned above mid-market. Downside: it ships assembled, so it costs more in freight per unit than a folding carton.
Folding carton (best for volume and shipping). Ships flat, assembles in seconds, costs less per unit. Ideal for fashion jewelry, subscription boxes, and high-volume lines where the box is a protective sleeve rather than a keepsake. Downside: lighter in the hand. If your brand story depends on heft, this undercuts it.
Velvet and specialty wraps. Velvet, suede-effect, linen, or textured paper over rigid board. These read as premium instantly and photograph well, which matters when your customer posts the unboxing.
Step 4: Inserts — The Detail Most Brands Get Wrong
If you only spend money in one place, spend it here.
Inserts do three things: hold the piece still, present it at the right angle, and hide the mechanism doing the work. A good insert makes a $40 product look like it belongs in a $400 box.
Options, from cheapest to most expensive:
- Die-cut card — flat, printed, folds into a slot. Good for studs and light pieces.
- Foam with cut cavity — black or white, precise, protective.
- Velvet or flocked tray — the fine-jewelry standard. Soft, absorbent, hides fingerprints.
- Moulded pulp — if sustainability is the story, this is the one that backs it up.
Decide the insert early, because it constrains your material and structure choices downstream.
Step 5: Choose Finishes That Signal Your Brand Tier
Finishing is where a generic box becomes yours. Pick one hero finish, not four.
Finish | Reads as | Best for |
|---|---|---|
Hot stamping (gold/silver) | Classic, established | Fine jewelry, heritage brands |
Blind emboss / deboss | Quiet, confident | Minimalist and luxury lines |
Spot UV | Modern, high contrast | Contemporary and DTC brands |
Matte lamination | Understated, premium | Almost everything |
A single gold hot-stamp on a matte black rigid box outperforms a busy multi-finish design in almost every test. Restraint reads as confidence.
What Custom Jewelry Boxes Actually Cost
Four variables drive price, in order of impact:
- Material and board weight — rigid vs carton is the biggest single swing.
- Insert type — a molded or velvet tray can cost more than the box shell.
- Finishes — each additional process adds setup plus unit cost.
- Quantity — unit price drops meaningfully at 500 and again at 1,000.
Ballpark: a custom rigid box with a velvet insert and one hot-stamp sits in the mid-range; the same box in folding carton with a card insert costs roughly half. Ask for an itemised breakdown rather than a single number — you need to see which lever to pull.
MOQ, Samples and Lead Time
- MOQ: 100 pcs for custom work. Low enough to test a design, high enough to be worth tooling.
- Samples: free customised samples so you can physically check fit, finish and color before committing, typically in about 5 days.
- Lead time: bulk production depends on structure and finish complexity.
- Color accuracy: expect slight variance between screen, proof and production. Ask for a physical pre-production sample — it is the only way to settle it.
We have run jewelry packaging for 28 years, 1,000+ projects across 80+ countries, and the five steps above are the ones that keep a launch on schedule.
FAQ
What is the best material for jewelry packaging boxes? Rigid board wrapped in printed paper (800–1,500gsm) is the standard for fine jewelry because it holds shape, feels substantial and takes finishes well. Folding carton suits high-volume fashion lines where freight cost matters more than heft.
How much clearance do I need inside a jewelry box? Allow 3–5mm around the insert on every side and 2–3mm of vertical headroom. Size the interior to the piece as presented, with its insert, not the bare product.
Can I get custom jewelry boxes with no minimum order? Truly custom work needs a tooling setup, so a 100-piece minimum is the practical floor. That is low enough to validate a design before scaling, and we supply free customised samples first.
Which finishes work best for a luxury jewelry brand? One hero finish beats several. Matte lamination with a single gold or silver hot-stamp is the most reliable premium combination; blind embossing suits minimalist lines.
How do I stop necklaces tangling in the box? Use an insert with a hook, neck-form, or ribbon tie that anchors the chain at two points. A flat pad alone will not hold a long chain in transit.
Conclusion
Your box is the first thing a customer touches and the last thing they remember.
So what matters more for your next launch — protection, presentation, or price?
- If protection leads: rigid board plus a cut foam or velvet insert, sized with 3–5mm clearance.
- If presentation leads: velvet wrap with a single hot-stamp, photographed before you commit.
- If budget leads: folding carton with a die-cut card insert and one spot finish.
Send us your piece dimensions and brand assets. We will return a free dieline and confirm the structure that fits your budget — MOQ 100 pcs, free samples in about 5 days.